Cutting a ten minute video by hand can take an afternoon. You scrub through the timeline, remove every pause, fix the sound, add captions and then export the file for each platform. With AI video editing, the program does the slow parts for you, and you only decide what stays in the final cut.
In this guide we explain how to use AI tools for video editing from the first import to the final export. We cover which tools do which job, how to build a rough cut, how to add captions, what to check by hand and where the limits are, so you can finish your first edit without guessing.
Quick Answer: How to Use AI Tools for Video Editing in 7 Steps
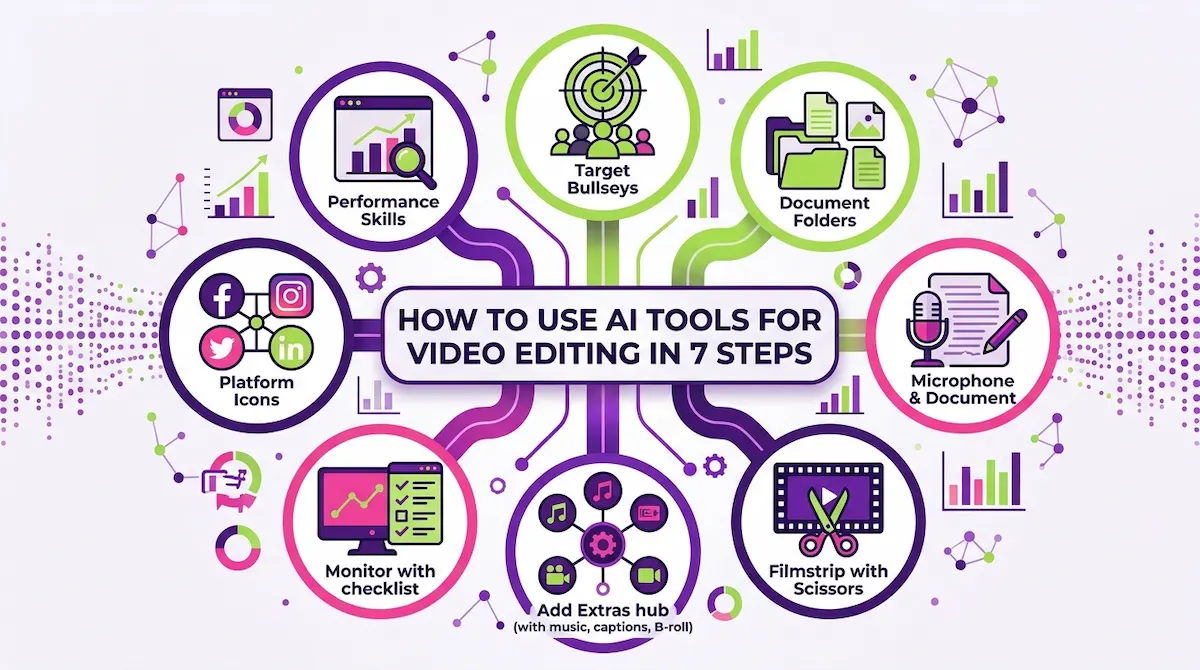
The order below works for almost every video, no matter which editor you use. Each step is explained in detail further down.
- Set the goal. Decide who will watch the video and where it will be published.
- Import and organize your footage into one project with clear file names.
- Generate a transcript. The tool turns speech into text you can edit.
- Build the rough cut. Remove silence, filler words and repeated takes.
- Add the extras: B-roll, music, captions and cleaner audio.
- Review every AI change. Fix wrong cuts, wrong words and awkward transitions.
- Export in the right size and format for each platform.
What Is AI Video Editing?
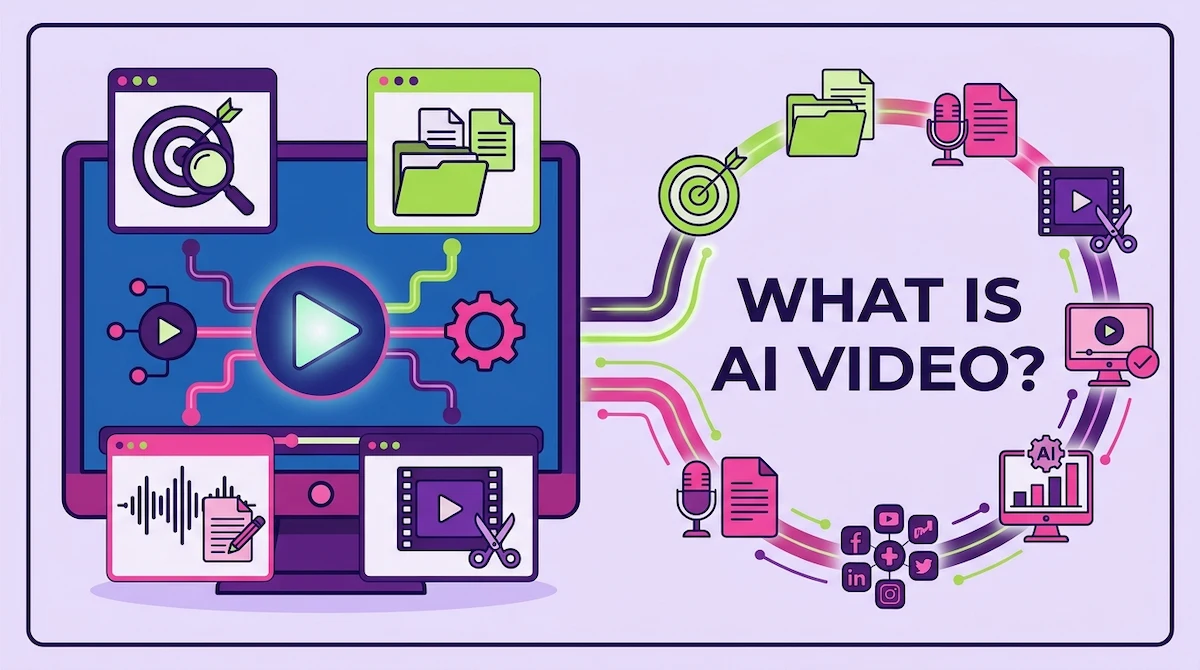
AI video editing means using software that listens to your footage, understands what is happening in it and performs editing tasks on its own or after a short instruction. Instead of dragging clips on a timeline, you often work with a transcript, a button or a chat box.
What AI Can Do in an Edit
Today the common tasks are speech to text, cutting silence, removing filler words, finding the best moments, adding captions, matching colors, cleaning background noise, resizing for vertical video and suggesting B-roll. Most video editing tools bundle several of these in one place, and some do only one job very well. Beginners usually start with captions and silence removal, because these two give the fastest visible result.
AI Video Editing vs AI Video Generation
These two are often mixed up. In AI video editing you start with your own footage and the tool helps you cut and polish it. In AI video generation you describe a scene and the tool creates new clips from nothing. This guide focuses on editing, and if you want the generation side, our guide on AI video creation covers it from the beginning.
What AI Still Cannot Do
The tool does not know your story. It can remove a pause, but it cannot tell whether that pause gives a joke its timing. It can pick a moment with loud reactions, but it cannot judge whether that moment fits your message. For that reason we always treat the result as a first draft.
How AI Video Editing Works
Most tools follow the same three stages, and knowing them helps you understand why mistakes happen.
First, the program transcribes the audio with speech recognition and links every word to a position in the video. Second, it analyzes the picture to find scene changes, faces, motion and shots that look similar. Third, it applies your instruction, which can be a button such as remove silences, a template or a sentence typed in a chat box. When you delete a word in the transcript, the matching part of the video disappears too, and that is the reason people call it editing by text.
Benefits of Using AI Tools for Video Editing
The biggest gain is time. Work that took hours, such as syncing captions or finding the best ten seconds of a long recording, now takes minutes. Because AI tools do the repetitive part, you can spend your attention on the story, the pacing and the message.
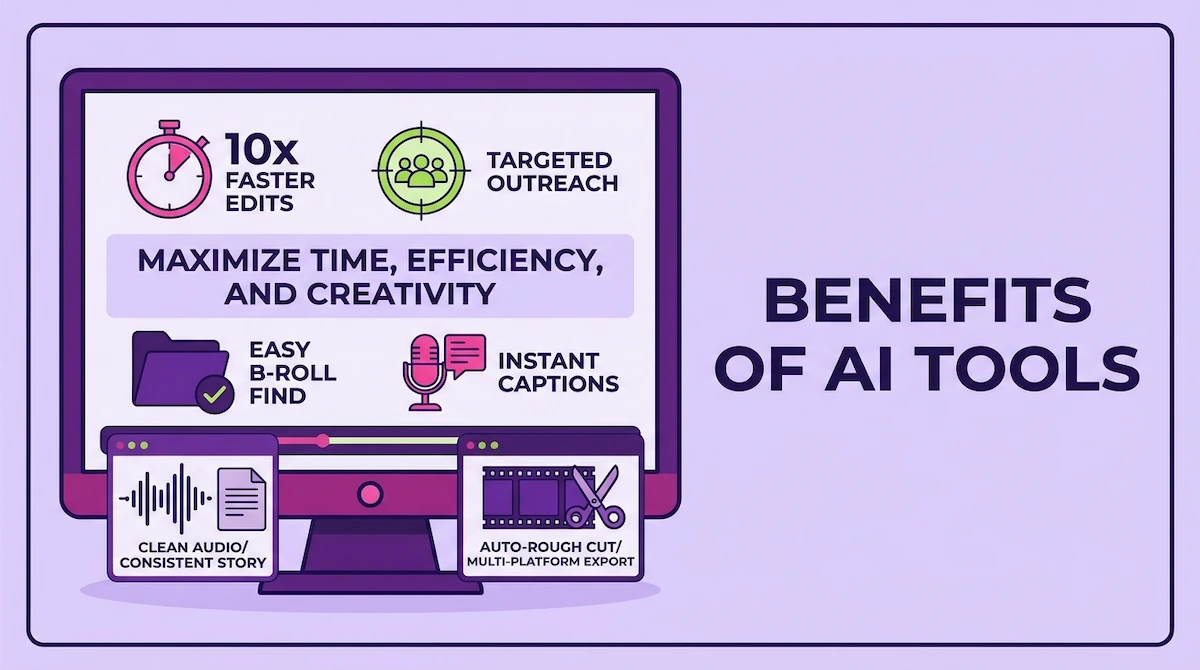
- Faster rough cuts from long interviews, tutorials and podcasts.
- Captions in minutes, which also helps viewers who watch without sound.
- Easier start for beginners, because you do not need to learn every timeline shortcut first.
- Quick reformatting of one video into horizontal, vertical and square versions.
- More consistent results, since color, sound level and caption style repeat from video to video.
Who Benefits Most From AI Video Editing
Creators who publish every week gain the most, because the same steps repeat with each video. Marketers use video editing tools to turn one recording into several posts. Teachers and trainers cut lessons and add captions faster, small businesses make product videos without hiring a studio, and podcasters turn long episodes into short clips for social media.
Types of AI Tools for Video Editing
There is no single best tool, because each type solves a different problem. The table gives a quick overview, and the sections after it explain each group.
| Task | What the AI does | Example tools |
|---|---|---|
| Edit by text | Turns speech into a transcript you can cut like a document | Descript, Premiere Pro |
| Rough cut and clips | Finds the best moments and cuts them into short videos | OpusClip, Wisecut, Vizard |
| Full editor with AI features | Adds captions, noise removal, auto cut and color tools to a normal timeline | Premiere Pro, CapCut, DaVinci Resolve |
| Browser editing | Offers auto captions, resizing and templates without installing anything | Veed, Kapwing, FlexClip |
| Video generation | Creates new clips, scenes or presenters from text | Runway, Pictory, Synthesia |
| Audio, color and quality | Cleans sound, upscales low resolution video | NVIDIA Broadcast, Topaz Video AI |
Text-Based Editors
A text-based editor shows your video as a transcript. You delete a sentence in the text and the same part is removed from the video. This is the easiest way to edit interviews, tutorials and talking head videos, and Descript is the best known example.
Rough Cut and Clip Tools
These tools take a long recording and return a shorter edit or several short clips with captions already added. They are made for creators who turn one webinar or podcast into many posts. A good example is Vizard AI, and OpusClip and Wisecut work in a similar way.
Editors With Built-In AI
Traditional editors now include AI inside the normal timeline. Adobe Premiere Pro offers text-based editing, automatic captions and speech enhancement. CapCut has auto captions and auto cut tools, and DaVinci Resolve can create subtitles from the audio. If you already use one of them, check the AI features before you buy anything new.
Browser Editors
Veed, Kapwing and FlexClip run in the browser, so you can start on any computer. They are a good choice for short social videos, quick captions and simple resizing, but long projects can feel slow in a browser.
AI Video Generators
Runway, Pictory and Synthesia create footage, slides or presenters from text. They are useful when you have no footage at all, for example an explainer made from a script. If you need a talking presenter, the guide on how to make AI avatar videos shows the steps.
Audio, Color and Upscaling Tools
Some tools do one narrow job well. NVIDIA Broadcast removes background noise, and Topaz Video AI increases the resolution of older or low quality footage. They are not editors, but they fix problems that an editor alone cannot.
How to Choose the Best AI Video Editing Tool
The best AI tools for video editing are the ones that match your video type and your skill level. We suggest answering five questions before you create an account.
- What kind of video is it? Talking head and interview videos suit text-based editors, while travel and action videos need a normal timeline.
- Where will it be published? Short vertical videos need fast captions and reframing.
- How long are your videos? Browser tools slow down on long files.
- Do you need a watermark-free export? Check this before you spend hours on a project.
- Who will use it? A team needs sharing and brand settings, a single creator does not.
If you are picking tools for a company and not only for yourself, our guide on how to choose AI tools for business gives a simple way to compare them.
Free vs Paid AI Video Editing Tools
Most tools have a free plan, but free plans usually limit the export length, the quality, the number of projects or add a watermark. For a first experiment this is fine. For regular work you will probably need a paid plan or a free editor with strong built-in features, such as DaVinci Resolve, whose free version covers a lot but keeps some AI features for the Studio version. Plans change often, so read the current limits on the official page before you commit.
What You Need Before You Start
You do not need much to start video editing with AI. Collect your footage in one folder, make a copy of the originals and write one sentence about the video, for example a three minute tutorial for beginners on YouTube. A computer with enough memory, a stable internet connection for cloud tools and clean audio make the biggest difference when you use AI tools for video editing.
How to Use AI Tools for Video Editing Step by Step
Follow these steps in order. The buttons have different names in each editor, but the workflow stays the same.
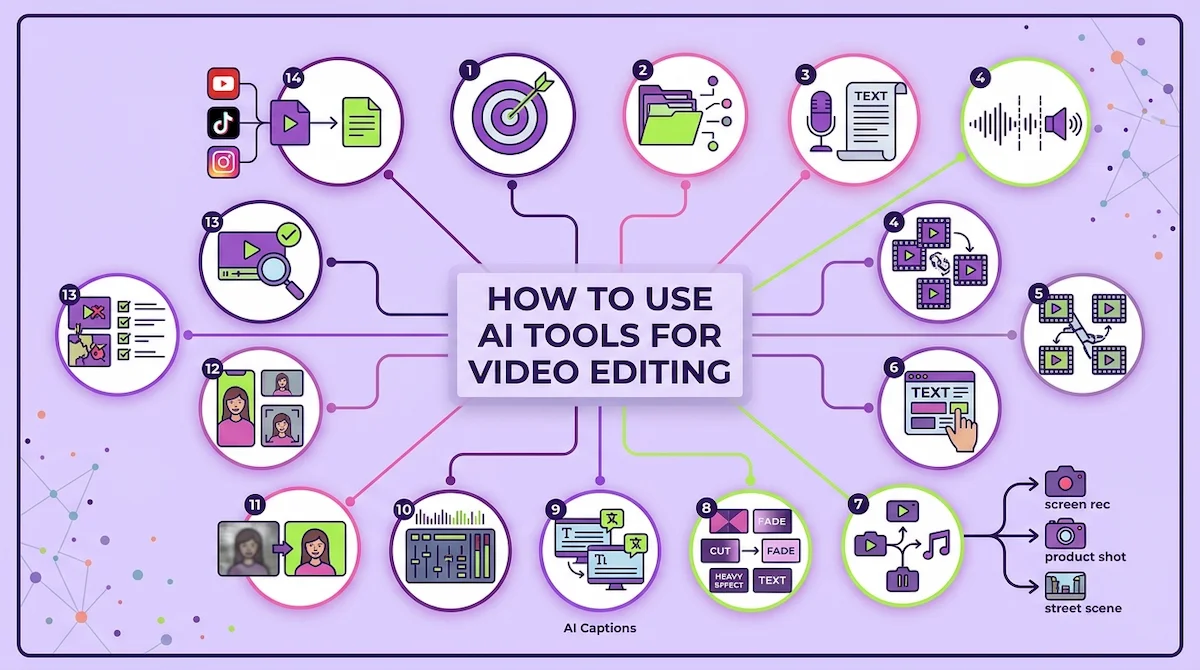
Step 1: Set the Goal, Audience and Platform
Before you open any editor, decide what the viewer should do or learn after watching. A tutorial needs clear steps and short pauses. A promo needs a fast start and a call to action. Also decide the platform, because it sets the length and the shape of the video. When the goal is written down, every AI suggestion is easier to accept or reject.
Step 2: Import and Organize Your Footage
Create a new project and import all clips. Give the files clear names, such as interview-part-1 and b-roll-office, and sort them into folders for video, audio, music and graphics. Good organization matters more with AI, because the tool analyzes every file you add, and a messy project gives messy suggestions. Also set the project resolution, frame rate and aspect ratio now, and match them to the footage and the platform, because changing them late can crop the picture or change the speed of clips.
Step 3: Generate a Transcript
Open the transcript or text panel and start the automatic transcription. Pick the right language before you begin, because a wrong setting is the most common reason for poor results. When it finishes, read the whole transcript once. Names, brand words and technical terms are often wrong, and every error will also show up later in your captions.
Step 4: Remove Silence, Filler Words and Repeated Takes
Most editors with AI can mark long pauses and words such as um and uh. Start with a mild setting, because an aggressive cut makes people sound rushed and breaks the natural rhythm of speech. Then look at the repeated takes. If you said one line three times, listen to the options and keep the best one by hand, since the tool often prefers the first or the last version.
Step 5: Build a Rough Cut With AI
A rough cut is the first version where all parts are in the right order and the extra material is removed. Some tools create it with one button, and chat-based editors create it from a sentence, such as keep only the parts about pricing and cut the intro to under ten seconds. These AI tools understand plain language, so you do not need special commands. Play the result from start to finish. If the structure is wrong, change the instruction and run it again instead of fixing every cut manually.
Step 6: Edit by Text and Tighten the Pacing
Now use the transcript like a document. Delete sentences that repeat a point, move a strong sentence to the beginning and shorten long explanations. Then watch the video again with the sound on and mark any place where the cut feels too sudden. A short pause or a small crossfade usually fixes it.
Step 7: Add B-Roll and Music
B-roll is extra footage that covers the main shot, such as a screen recording, a product close-up or a street scene. Many tools suggest B-roll based on the words in the transcript, and you can accept it, replace it or use your own clips. For music, choose a track that does not compete with speech and lower its volume under dialogue. If you need a spoken track instead of your own voice, see our guide on how to create AI voiceovers. Whichever you choose, listen to the music and the voice together at normal volume, and lower the music again if any word becomes hard to understand.
Step 8: Add Transitions, Graphics and On-Screen Text
Transitions should have a reason. A quick cut works for most changes of topic, a crossfade suits a change of time or place, and heavy effects usually look dated. Many AI editors suggest transitions and animated titles from a template, and it helps to pick one style and repeat it through the whole video. Add lower thirds with names, short on-screen text for key points and simple graphics for numbers, and keep each element on the screen long enough to be read twice.
Step 9: Add AI Captions
Auto captions are one of the most used features of video editing software, and they help the viewers who watch with the sound off. Generate them from the transcript, check the spelling, then style them with a clear font, strong contrast and no more than two lines on the screen. Place them away from faces and platform buttons. For translations, most tools can create a second language, but always have someone who speaks it read the result. A full walkthrough is in our guide on how to add AI subtitles to videos.
Step 10: Clean Up the Audio
Viewers forgive a plain picture much faster than bad sound. Use the noise removal or speech enhancement tool to reduce background hum, room echo and keyboard noise, then play a few parts with headphones. If the voice starts to sound thin or robotic, lower the strength of the effect. Dialogue and music should stay at a comfortable level from the beginning to the end.
Step 11: Fix Color and Upscale
Use auto color correction to even out the brightness and color between clips filmed in different places or at different times. It is a good start, and you can adjust it by hand if skin tones look strange. If a clip has low resolution, an upscaling tool can sharpen it, but it works best on moderate problems and cannot repair a very blurry shot.
Step 12: Resize for Every Platform
One video often needs several shapes: horizontal for YouTube, vertical for TikTok, Reels and Shorts, and square for some feeds. Use the auto reframe tool, which follows the speaker and keeps the face inside the frame, and then check each version because the tool sometimes cuts off a hand or a product.
Step 13: Review What the AI Did
This step decides the quality of the final video. Watch the full edit from the start without stopping and write down every problem: a cut in the middle of a word, a caption error, a missing pause, a B-roll clip that does not match what is said. Then fix those points manually. Only after this check should the video go to export.
Step 14: Export and Prepare the Upload
Choose the preset for your platform, a sensible resolution and a file format that the platform accepts. Watch the exported file once, because problems sometimes appear only after rendering. Before uploading, prepare the title, description and thumbnail. Some tools can suggest titles and descriptions from the transcript, and these are good drafts that you should edit. After publishing, watch the first hours of results, especially the point where viewers leave, and use that to improve the next edit.
AI Captions: Why They Matter and How to Get Them Right
Captions deserve their own section, because they are the most used AI feature in video editing and the one where small mistakes are most visible.
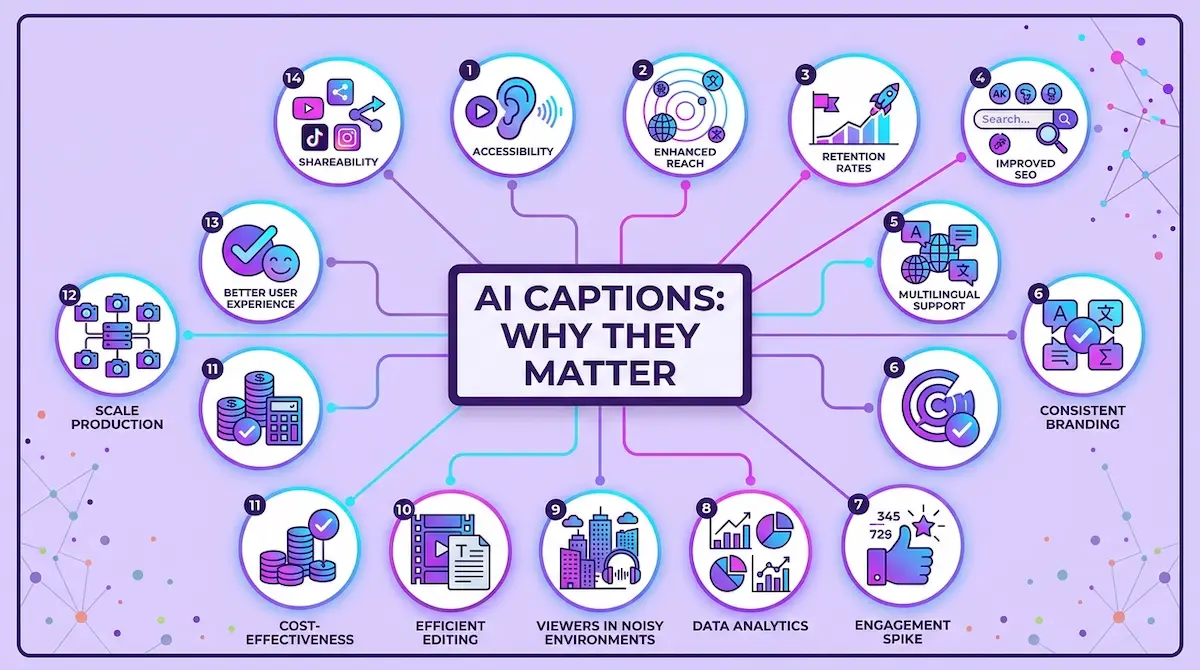
Why Captions Matter
Many people watch short videos with the sound off, so captions often decide whether a viewer stays. They also help viewers with hearing loss, viewers who speak another language and anyone watching in a noisy place. A transcript attached to the video can help search engines understand what the video is about.
Burn-In Captions vs SRT Files
Burned-in captions are part of the picture, so they look the same everywhere and can be animated, which suits short social videos. An SRT file is a separate text file that the platform shows on top of the video, and the viewer can turn it on or off. For YouTube we suggest uploading an SRT file, and for TikTok and Reels burned-in captions are the usual choice.
Caption Length, Line Count and Speakers
Keep captions to one or two lines with a few words on each, and break them where a person would naturally pause. When several people talk, check that the tool assigned the right speaker, because it often mixes voices in fast conversation. Highlight only the key word in a line, not every word, so the eye still knows where to look.
Translating Captions
Most tools can translate captions into other languages in one click. The result is a good first draft, but names, jokes and technical terms often break, so ask a native speaker to check it before publishing.
AI Video Editing in Premiere Pro, CapCut and DaVinci Resolve
If you do not want a new program, the three most used editors already include the main AI features. Menu names change between versions, so use the names below as a guide and check the help page of your version.
Premiere Pro
Open the text panel, start the transcription and the program creates a transcript linked to your clip. From there you can delete words to cut the video, create captions from the transcript and use the audio tools to improve speech.
CapCut
Choose the captions option, select the language and generate captions automatically, then correct the text and apply a style. CapCut also offers auto cut tools and background removal, which makes it a popular choice for short vertical videos on a phone.
DaVinci Resolve
Resolve can create subtitles from the audio of your timeline, and the result appears as a subtitle track that you can edit and style. Some of the newer AI features are limited to the Studio version, so check which version you have.
Traditional Editing vs AI Video Editing
The table shows where AI helps most and where manual work is still better. We describe the difference and not exact minutes, because the time you save depends on the footage, the tool and your experience.
| Task | Manual editing | With AI |
|---|---|---|
| Transcript and captions | Typed or synced by hand | Created automatically, then checked |
| Cutting silence and filler words | Found and cut one by one | Marked in a few clicks |
| Rough cut | Built clip by clip | Created from a transcript or an instruction |
| Resizing for platforms | Each version reframed by hand | Reframed automatically |
| Story, pacing and humor | Decided by the editor | Still decided by the editor |
When to Use AI and When to Edit by Hand
Use AI for repetitive and technical work, such as transcripts, silence removal, captions, noise reduction and reframing. Edit by hand when the video depends on emotion, timing or a strong visual idea, such as a story, a comedy sketch or a brand film. Most good edits use both, with AI handling the first pass and a person handling the final decisions.
Prompts and Workflows That Work in AI Video Editors
Editors with a chat box need clear instructions. A short request with a result, a length and a limit works better than a long story. Here are examples you can adapt.
- Cut the intro. Remove everything before I start explaining the topic and keep the first sentence under ten seconds.
- Find highlights. Select the three most useful moments from this interview and make each one shorter than sixty seconds.
- Clean the speech. Remove silence longer than one second and all filler words, but keep short natural pauses.
If a result is not good, change one part of the instruction at a time. You can learn more about how to write them in our guide on prompt engineering for business.
Keep the instructions that worked in a simple text file with the date and the tool name. After a few projects you will have a small library of requests that you can paste into any new project, and that saves more time than any single feature.
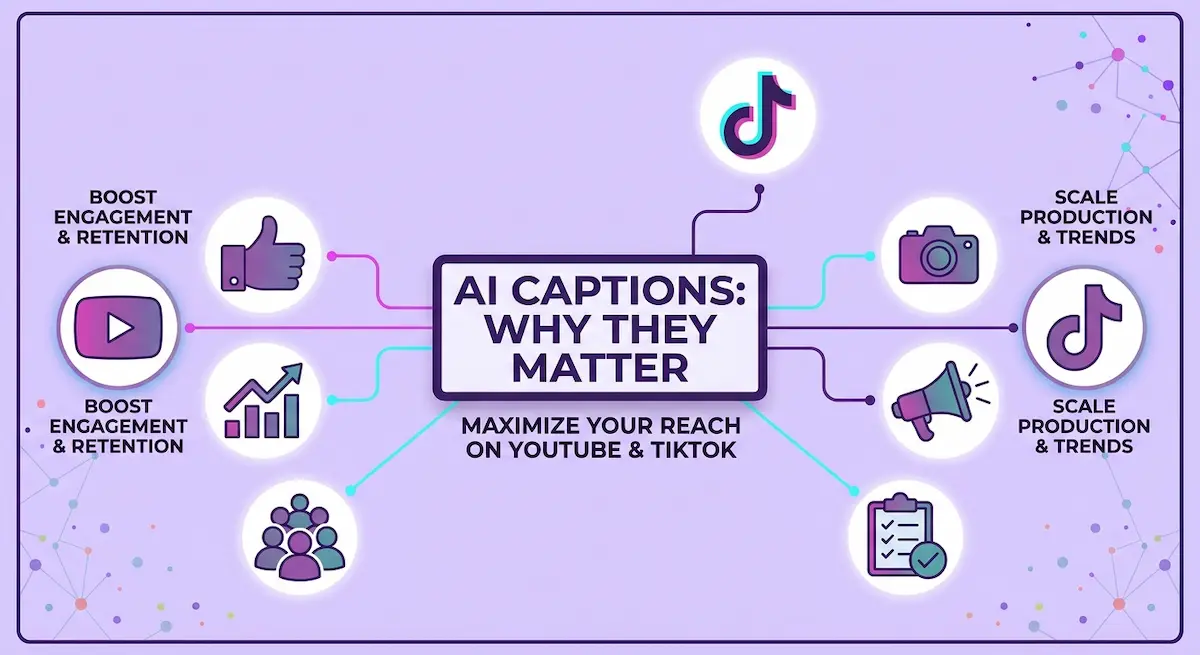
AI Video Editing Workflows for YouTube, TikTok and Mobile
The steps stay the same, but each platform changes the length, the shape and the style.
YouTube Videos
For YouTube, start with the transcript and a strong opening, because the first seconds decide if people stay. Use chapters, clean audio and captions, and keep a horizontal version as the main file.
TikTok and Shorts
Short vertical video editing needs a fast start, large captions and quick cuts. A clip tool is the easiest route, and our guide on how to turn long videos into shorts with AI explains how to pick the right moments.
Editing on iPhone and Mobile
Mobile video editing apps such as CapCut offer auto captions, auto cut and background removal in a simple layout. They are fast for short videos. For longer projects, finish the edit on a computer, where you can check details on a larger screen.
Interviews and Podcasts
Long conversations are where text-based video editing saves the most time. Edit the transcript first, remove side topics, then fix the audio levels between speakers. Add captions at the end, and export a short clip for social posts.
Live Streams and Webinars
After a live stream or a webinar, upload the recording to a clip tool and let it find the strongest moments. Review each clip, remove sections that depend on the chat or on screen sharing that is hard to follow, and add captions before you post.
Tips for Better Results With AI Video Editing
- Record clean audio. Better sound gives better transcripts, better cuts and better captions.
- Keep your originals. Save a copy of every file before you apply any automatic change.
- Use one tool for one job. Too many AI tools create too many exports and too many places for errors.
- Save versions. Keep a version before and after the AI cut, so you can go back.
- Apply less effect than you think. Subtle color, sound and cut settings look more natural.
Common Mistakes When Using AI Tools for Video Editing
These are the mistakes we see most often, and each one is easy to avoid.
- Trusting the transcript without reading it. One wrong word becomes a wrong caption.
- Removing every pause. The video then sounds rushed and tiring.
- Ignoring the audio. Poor sound makes viewers leave faster than a plain picture.
- Using too many effects. Every extra effect pulls attention from the message.
- Working without a copy. If the automatic cut is bad, you need the original.
- Skipping the full review. Many errors show only when you watch from beginning to end.
- Expecting the tool to decide the story. AI helps with the work, but you decide what the video says.
Limitations, Privacy and Copyright of AI Video Editing
Accuracy and Errors
Speech recognition struggles with strong accents, background noise, several speakers at once and technical terms. The tool can also cut a sentence in the wrong place or choose a bad moment as a highlight. This is the main reason why the review step cannot be skipped.
Privacy of Your Footage
Most cloud video editing tools upload your video to a server. If it contains customers, private meetings, children or internal information, read how the provider stores and uses uploaded files before you use it. For business video, our guide on AI data privacy for business lists what to check.
Music, Voices and Commercial Use
Having a feature in the tool does not always mean you may use the result commercially. Check the license of stock clips, music tracks and generated voices, and check whether the free plan allows paid client work. When the terms are not clear, use your own material or content with a clear license.
How Much Do AI Video Editing Tools Cost?
Prices of AI tools depend on the product and change often, so we describe the models and not the numbers. Some tools charge a monthly subscription, others sell credits for each export or each minute of video, and many offer a limited free plan. Generation tools usually cost more than editing tools, because creating new footage needs more computing power.
Before you pay, compare the price with the hours you save, and check whether captions, export length and watermark removal are included. For a wider view of pricing across categories, see our guide on how much AI tools cost.
Will AI Replace Video Editors?
AI replaces some tasks in video editing, not the editor. Cutting silence, syncing captions and reframing video are now fast and cheap. Story structure, rhythm, humor and taste still need a person who understands the audience. Editors who learn these AI tools produce more work in less time, and beginners can reach a decent result much faster than before. We expect the tools to keep improving, so the sensible plan is to learn the workflow and keep your own judgment sharp.
Next Steps
Pick one short video you already have, import it into one of the AI tools for video editing from this guide and follow the steps above. Generate the transcript, make a rough cut, add captions, check the result by hand and export. After the first project you will know which features save you time, and you can add the others one at a time.
How to Use AI Tools for Video Editing FAQ
Can AI edit videos for me automatically?
Yes, to a point. Many AI tools can cut silence, add captions and create a rough cut with one click, but you still need to review the result and make the creative decisions yourself.
What is the best free AI tool for video editing?
It depends on your video. CapCut and the free version of DaVinci Resolve offer strong features, and browser tools such as Veed and Kapwing are good for quick captions. Free plans usually limit export length, quality or add a watermark.
Are AI video editing tools beginner-friendly?
Yes. Text-based editors and one-click tools remove most of the timeline work, so beginners can finish a first video in an afternoon. Start with a short clip and one tool.
Can I use my own footage and music?
Yes. Every major editor lets you import your own video, audio and images. Make sure you own the rights to the music or have a license that allows your use.
How accurate are AI captions?
They are good with clear speech and weaker with noise, accents, several speakers and technical terms. Always read the captions before publishing and correct names and brand words.